Web Designer+
Unlimited web design
without coding hassles.
Launch an e-commerce website, capture leads, and sell with landing pages, or quickly prototype websites for clients. Make it happen intuitively, without having to write a line of code.


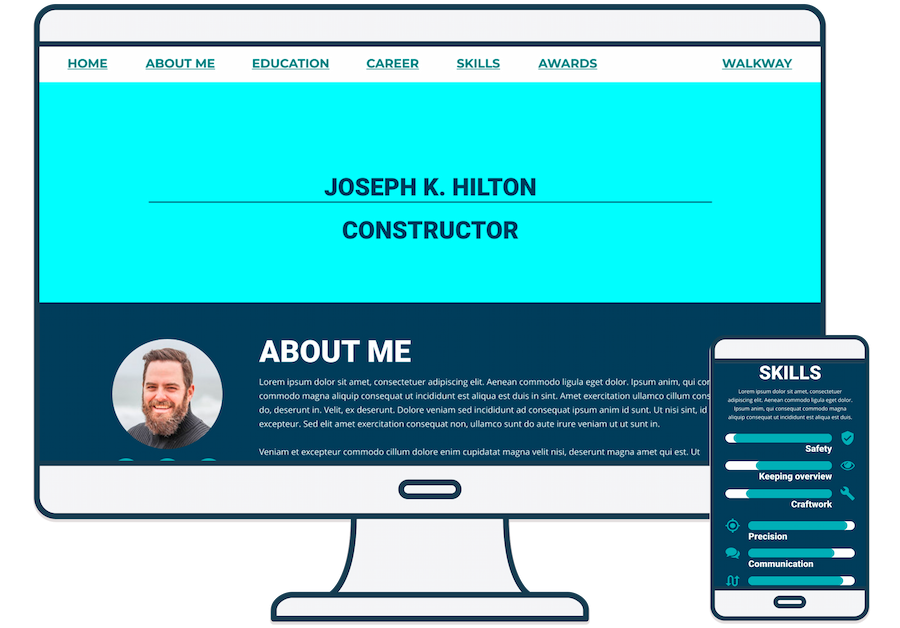
The website you want, a few clicks away.
Unlike most out of the box website builders what you see in Web Designer+ is exactly what you get on your website – no hassles or surprises. Drag-n-drop editing, responsive templates, mobile views and widgets do all the heavy lifting for slick results in a few clicks, not months.

Stand out from the crowd.
Customize every detail.
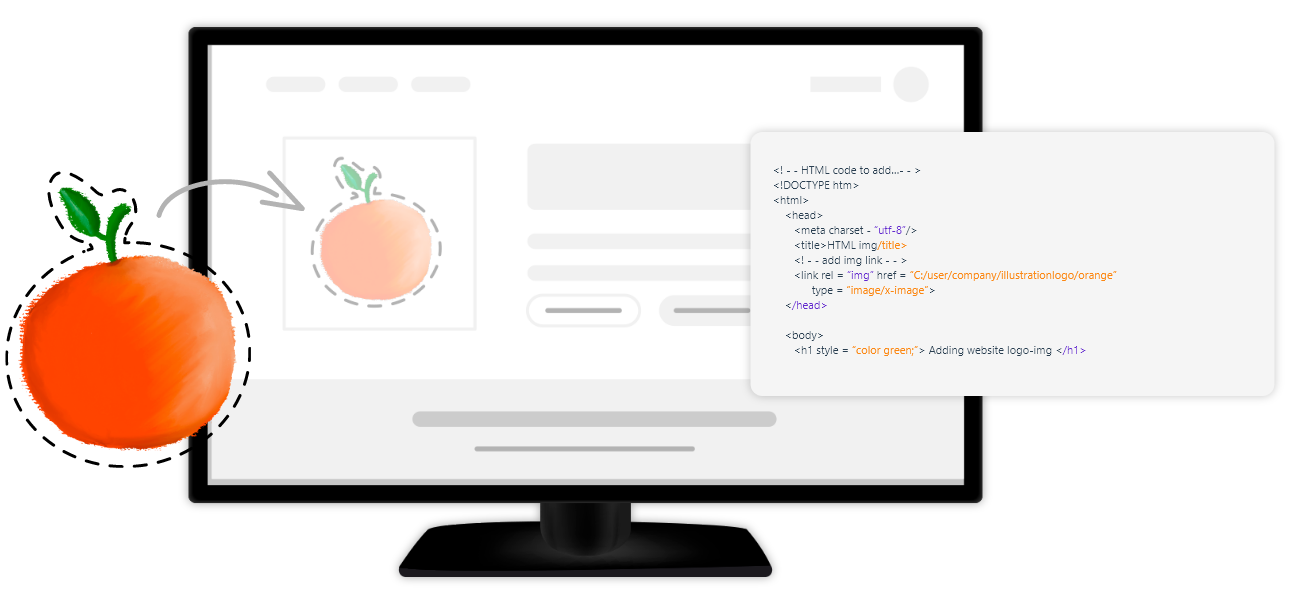
Start with templates, import or create your own graphics from scratch with illustration tools. Automatically converting non HTML items into optimized web graphics and animate your site with CSS or gif.
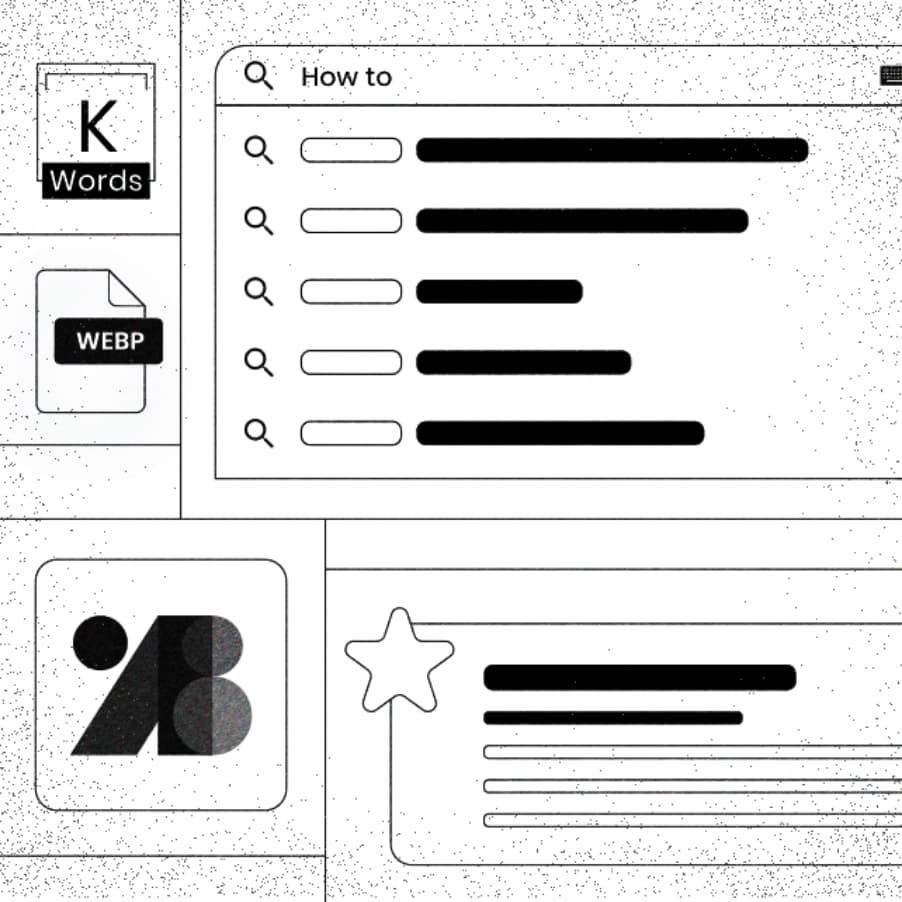
Search ranking and speed matter.
Increase your visibility and speed with a wide range of SEO and performance features and technology. On-page optimization of images and tags increases your ranking and self-hosted fonts improve site speed and offer instant privacy compliance with GDPR.
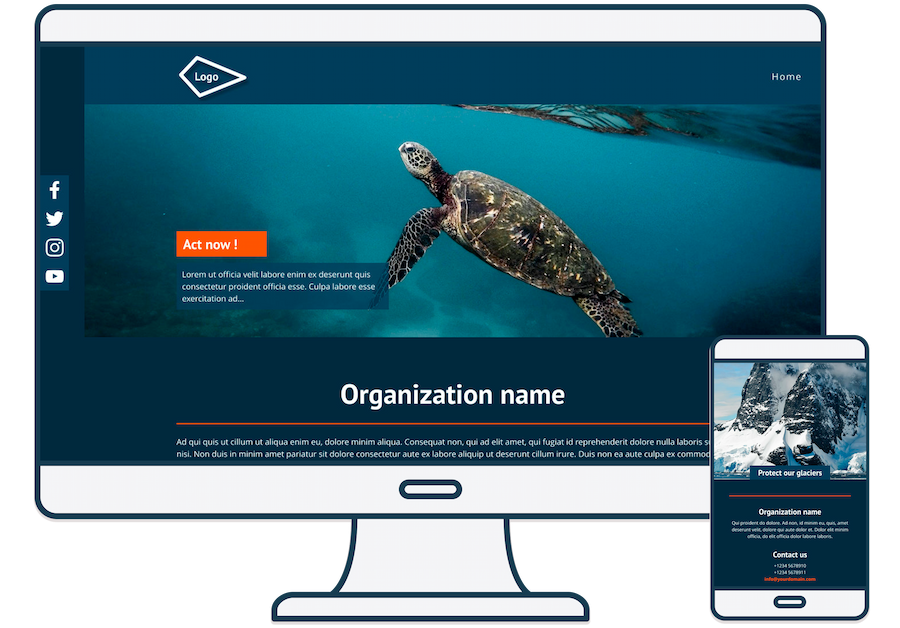
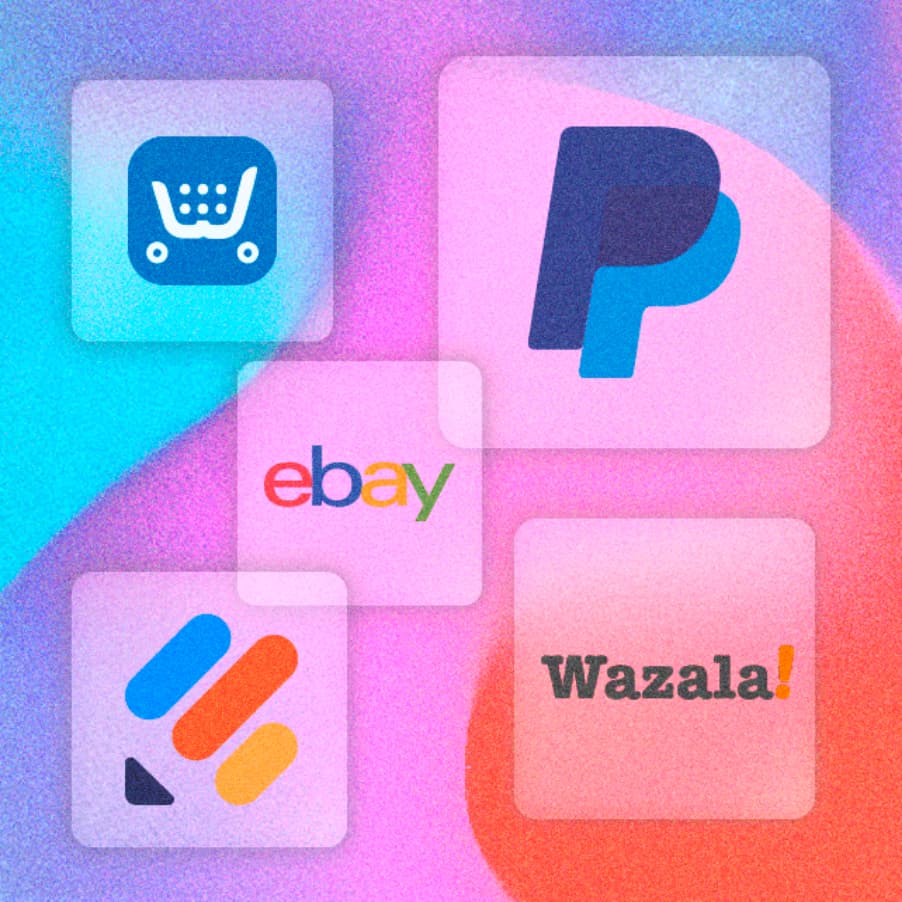
Tools to manage and grow your online biz.
Create a website and grow your business in one place with a full range of plug-ins. From eCommerce tools such as PayPal, to forms and email marketing tools such as Jotform. Simply select the right widget, and drag it into your site.
The possibilities are endless….
Business
Portfolios
e-Commerce
Landing pages